Simple DIY Poster Frame
Last month I went on a wonderful (but unfortunately short) trip to Nashville with my lovely girlfriend. Neither of us had been to the South before, so we tried to pack in as much we possibly could during the 48 hours we had there.
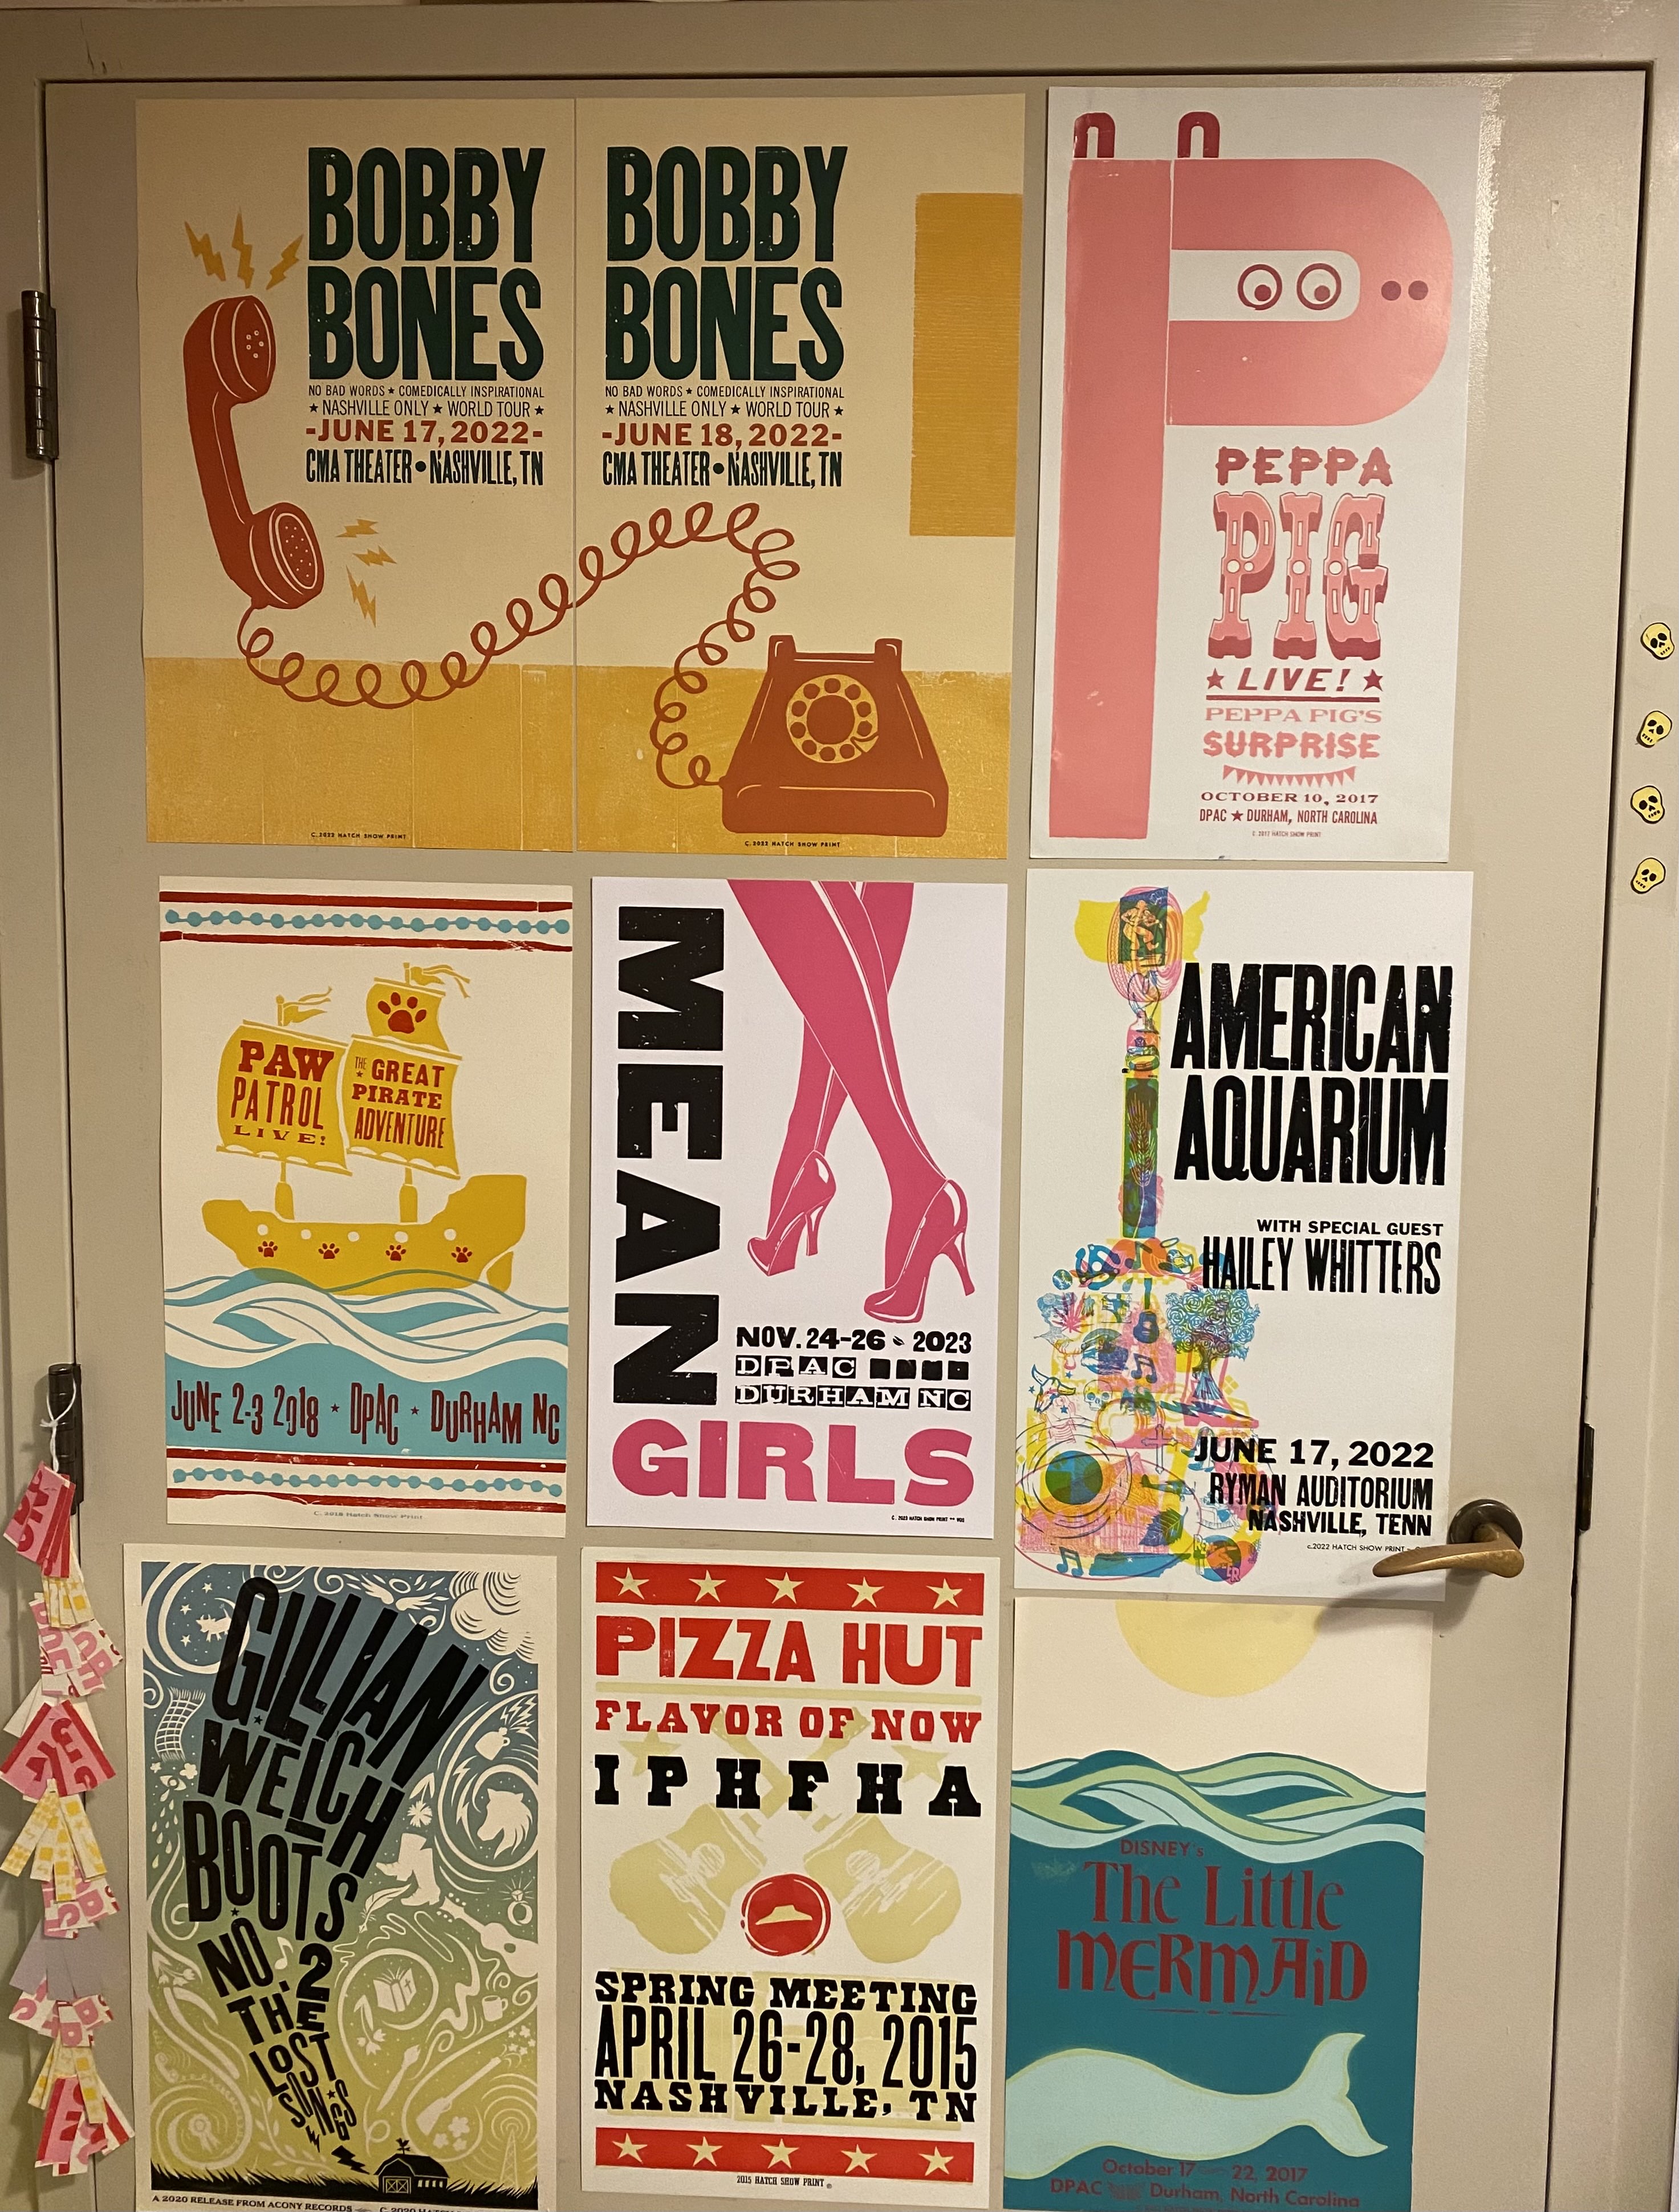
One of my favorite spots was the Hatch Show Print Shop. They opened in 1879 and are still hand pressing posters to this day! It was fascinating to learn about traditional printing techniques — they have turned the act of making art into an art.
The workshop was extremely cozy and old fashioned. On the tour, they said they don't have any fonts made after ~1955. That means they don't even have Helvetica (created in 1957)! Did you know that the terms "uppercase" and "lowercase" are used because uppercase letter blocks were traditionally stored in the cabinets above the lowercase ones? Their style of poster is so distinct and creative that it is easy to identify their work scattered around Nashville. One of my favorites was the Peppa the Pig poster that you can see in this picture:
If this sounds interesting and/or you're into typography, you should check this video out!
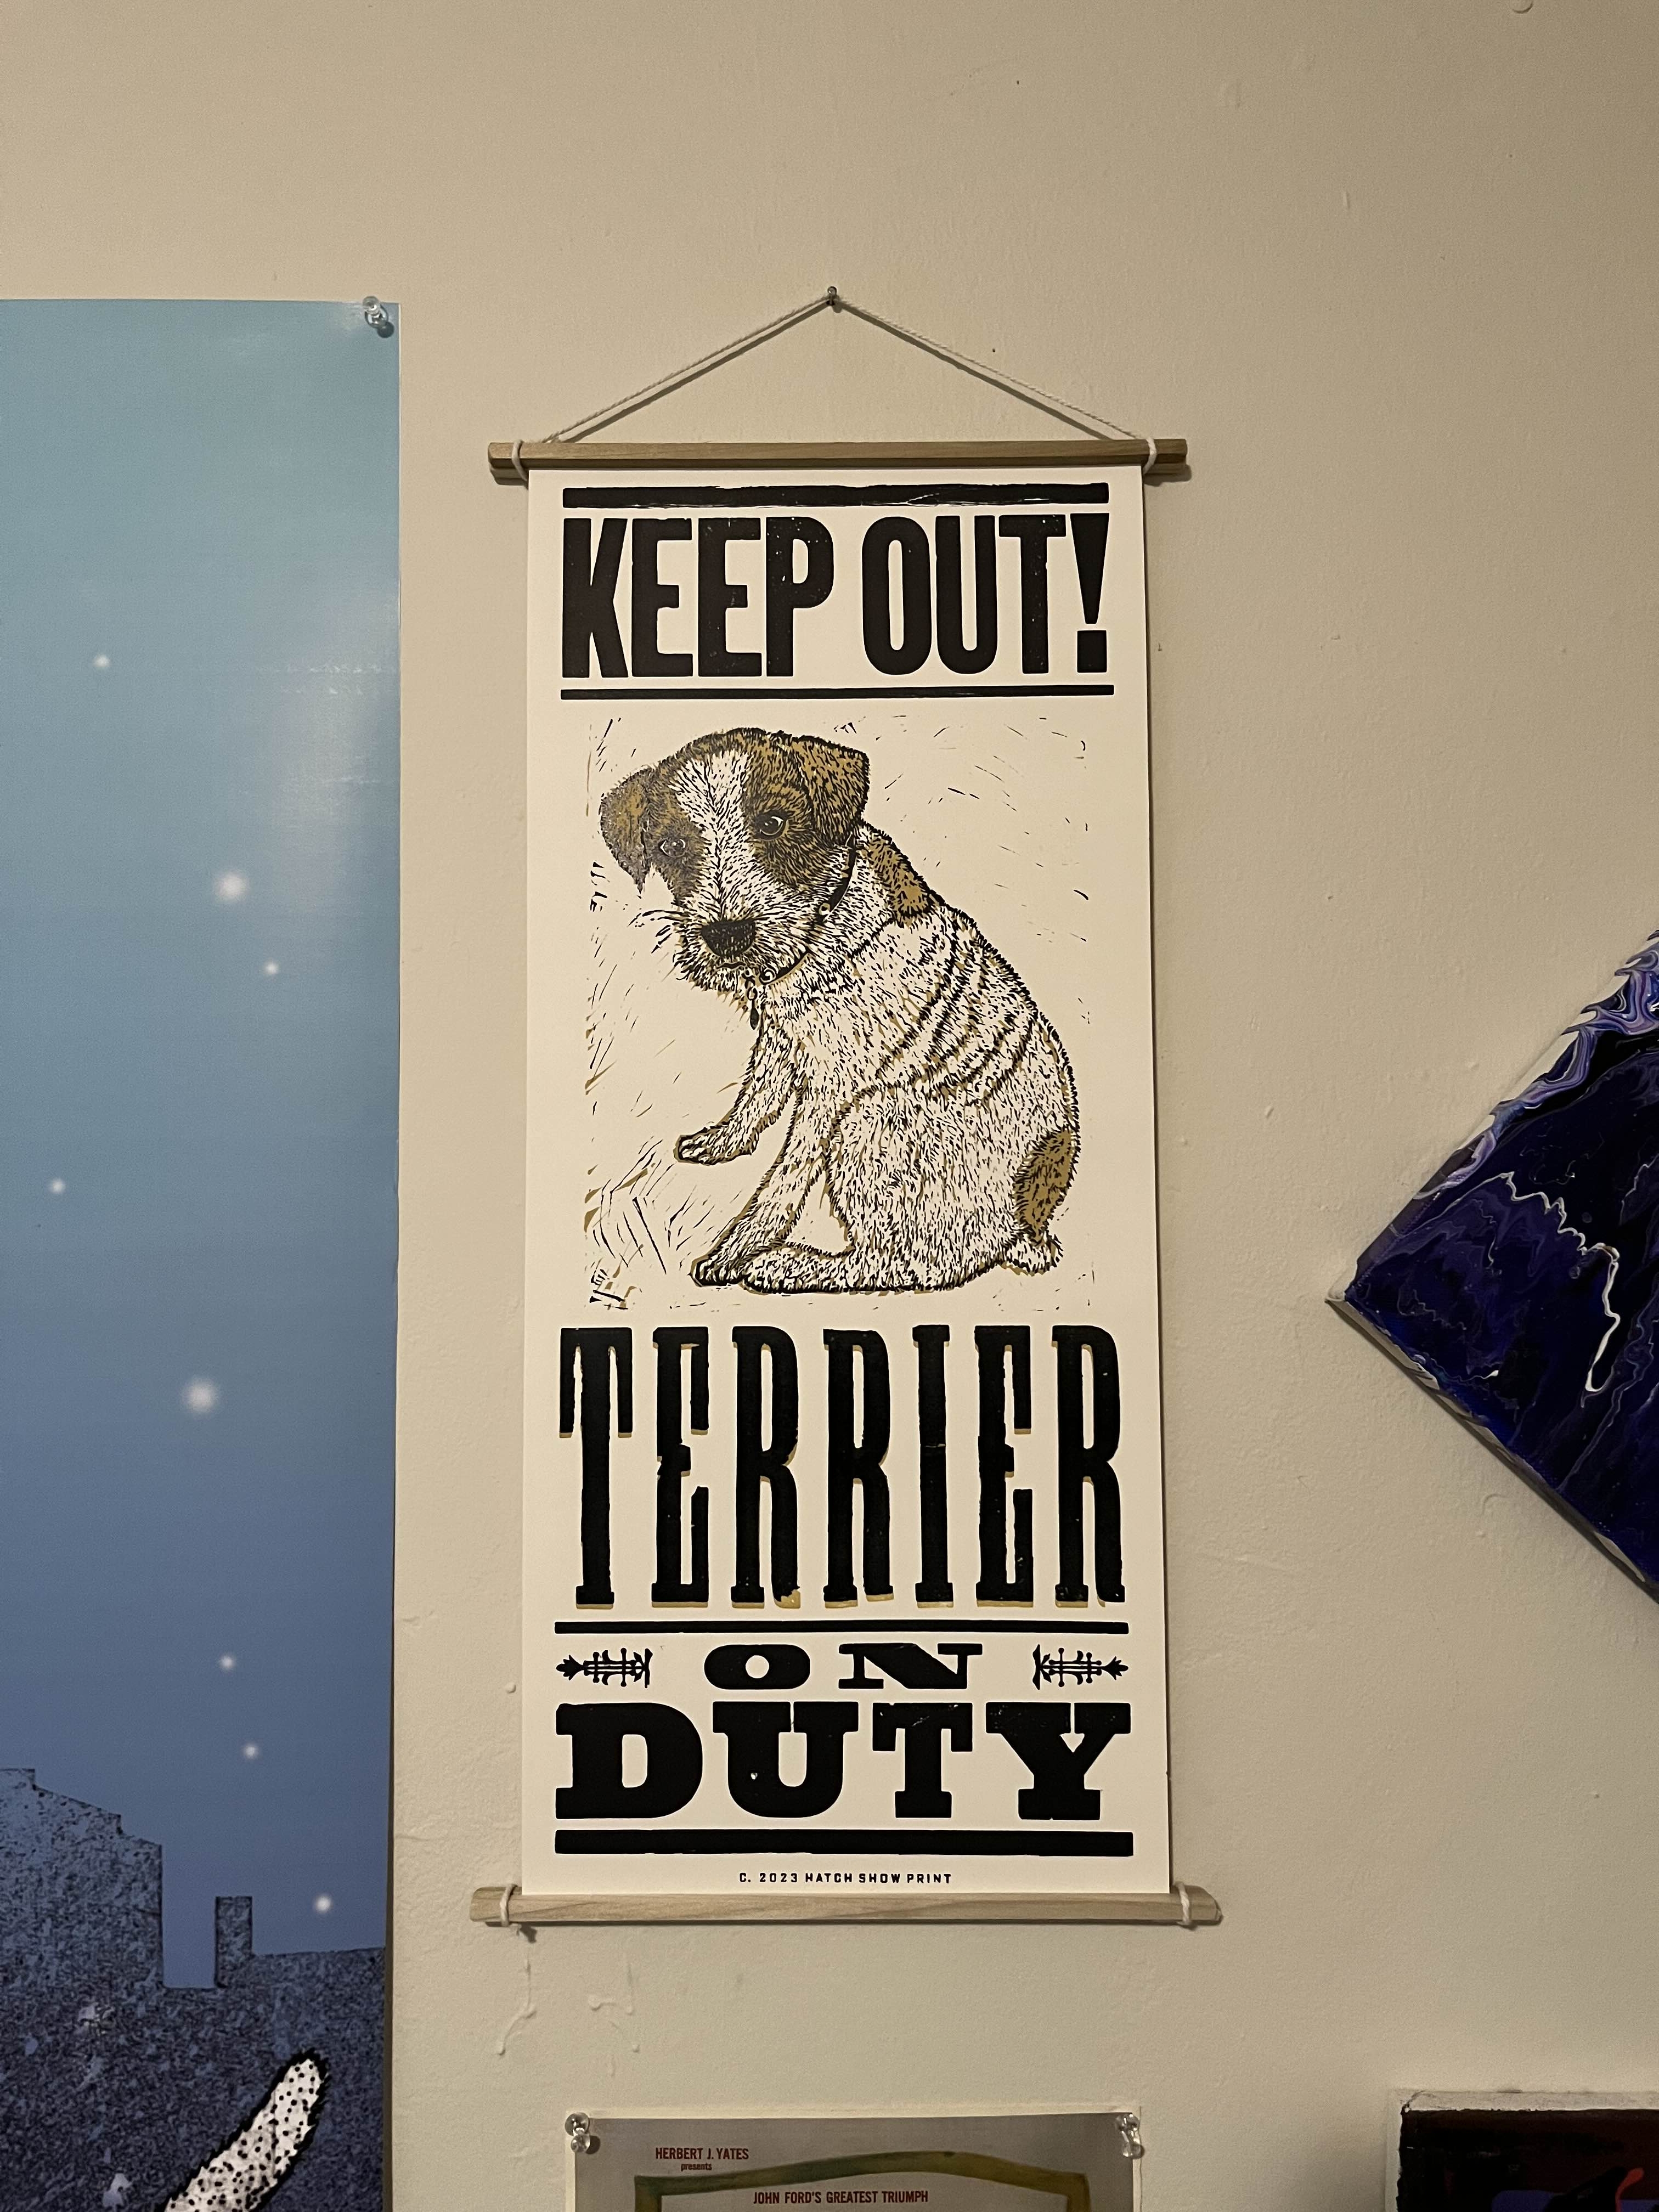
Anyways, I bought a poster from the print shop and wanted to make a frame for it. This approach was inspired by a frame my girlfriend bought a few years back that also pinches the top and bottom, but it uses magnets instead (expensive). All of these materials are basic hardware store items, and you can make them yourself in an afternoon!
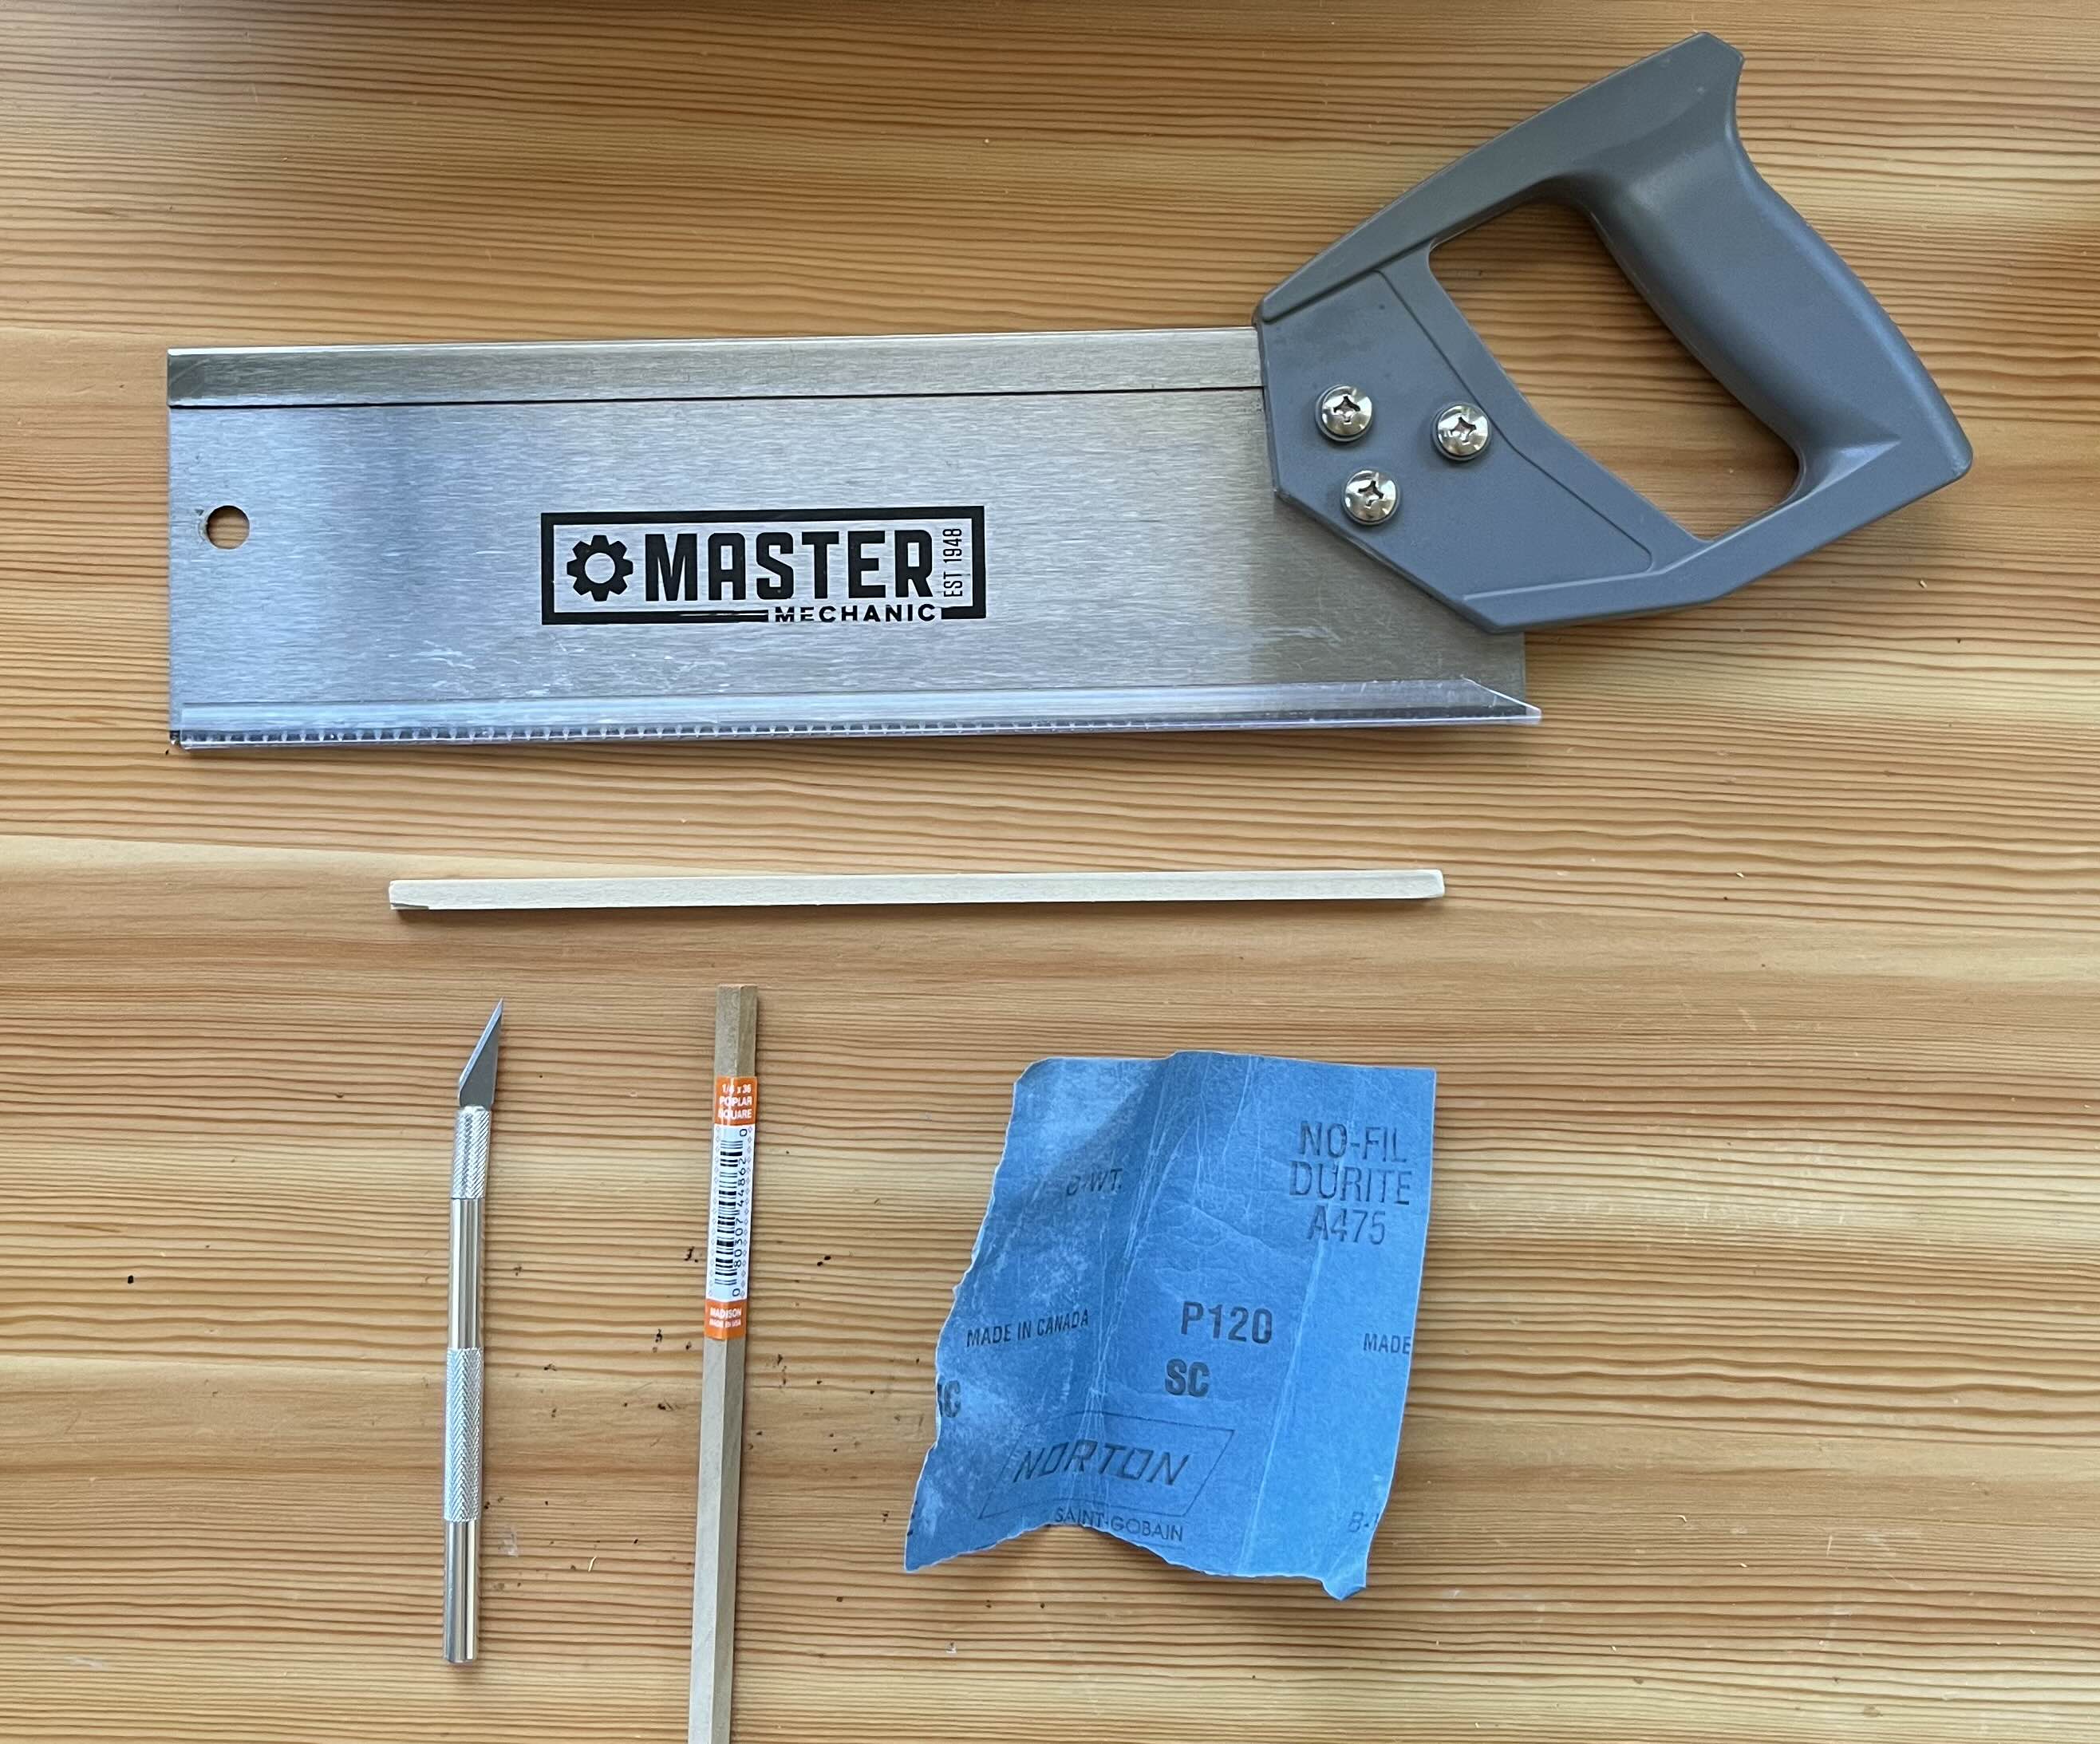
LOM (list of materials):
- Some square wooden dowels (I used two 1 1/4" x 36" dowels made of poplar)
- Some medium/fine grit sandpaper (I used a fine, 120 grit sheet and it worked well!)
- An exacto knife or boxcutter type blade
- Not pictured: some thick string or thin rope (The rope I used was labeled "gardening twine", but anything works)
- Optional: a saw to help cut through the dowels
Here is the final result:
Making the frame is a super simple process!
- Cut your dowels into 4 equal pieces, slightly longer than the width of your poster (~1 inch longer). Sand the cut edges to reduce splinter risk.
- To make the bottom part of the frame, place the poster's bottom edge between two of the dowels. Leave about 1/2 an inch of dowel extending past either side of the poster. The bottom edge of the poster should be flush with the bottom edge of the top face of the dowel.
- Take short lengths of rope to tie the ends of the dowels together. They should be pinching the bottom edge of the poster firmly.
- Repeat step 2/3, but with the the top edge of the poster, and with one piece of rope that is around 1.25-1.5x the dowel length. You're creating the hanging cord and pinching the top dowels together in one move, so this may take some finesse. I recommend cutting the piece longer than is necessary (~2x length of dowels) to make tying it easier, but you don't want any additional slack or else the poster will hang low.
Voila! I really like this design because it's a cheap, less destructive, and adaptable alternative to the tacks I've been using. I think it looks quite nice too, if I don't say to myself.